Taking the Guesswork Out of Photo Day
Whether you are booking your first professional shoot or your fiftieth, knowing exactly what to expect on the day helps everything run smoothly. This guide walks you through the complete process—from what happens before we arrive to when you receive your final images.
Share this with your sellers so everyone is aligned and the property is ready to shine.
Before the Shoot: Preparation (24-48 Hours Prior)
The most impactful work happens before the camera comes out. A well-prepared property photographs dramatically better than one that is "almost ready." Here is what to communicate to your sellers:
Interior checklist:
- All lights on—replace any burnt-out bulbs (consistent lighting matters)
- Ceiling fans off (they blur in photos)
- Toilet lids down, towels neatly hung in bathrooms
- Kitchen counters cleared except for 1-2 decorative items
- Personal items stored (family photos, medications, children's artwork on fridges)
- Beds made with smooth, unwrinkled bedding
- Floors vacuumed or swept—pet hair especially
- Remove fridge magnets, sticky notes, and papers from surfaces
- Hide garbage bins, laundry baskets, and cleaning supplies
Exterior checklist:
- Cars out of the driveway and away from the front of the property
- Garbage and recycling bins stored out of sight
- Lawn mowed, garden hoses coiled and stored
- Front entry clear and welcoming
- Patio furniture arranged intentionally (not stacked or covered)
Pets:
We love animals, but they can complicate a shoot. Ideally, pets are away from the property during the session. If that is not possible, crate them or keep them in one room that we photograph first so they can be released afterward.
Arrival and Walkthrough (First 10-15 Minutes)
When our photographer arrives, the first step is always a walkthrough. This serves several purposes:
- Identify the property's strongest features and natural light direction
- Note anything that needs a quick adjustment (a stray item, a closed blind that should be open)
- Discuss with the agent which rooms or angles are priorities
- Plan the shooting order based on current light conditions
This is the time to mention any features you want highlighted—a recently renovated bathroom, a view from a specific window, built-in storage that buyers might miss. Communicate priorities and we will make sure they are covered.
The Shoot Itself (45 Minutes to 2+ Hours)
Duration depends on the package and property size. Here is what happens during the session:
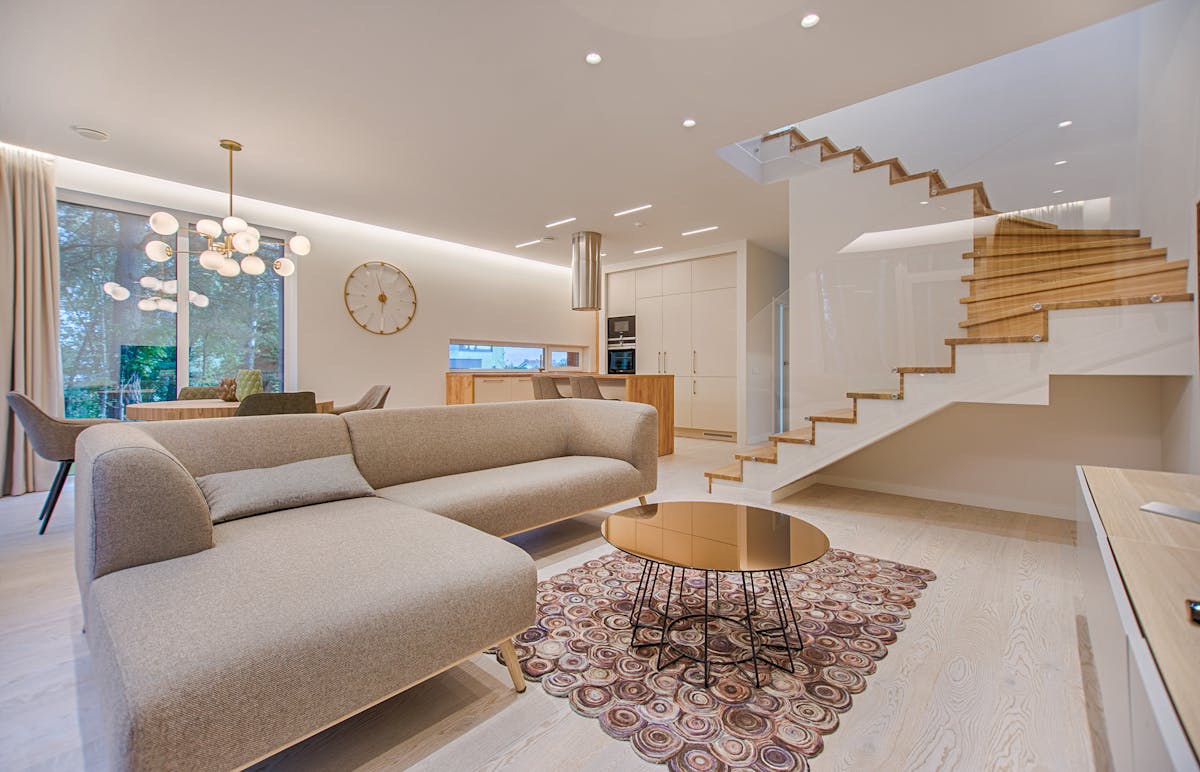
Interior photography:
We photograph each room from multiple angles, using professional lighting equipment to balance natural light with interior conditions. Each shot is carefully composed to showcase space, flow, and features. We will move small items if needed—a chair slightly repositioned, a cushion straightened—and always put things back.
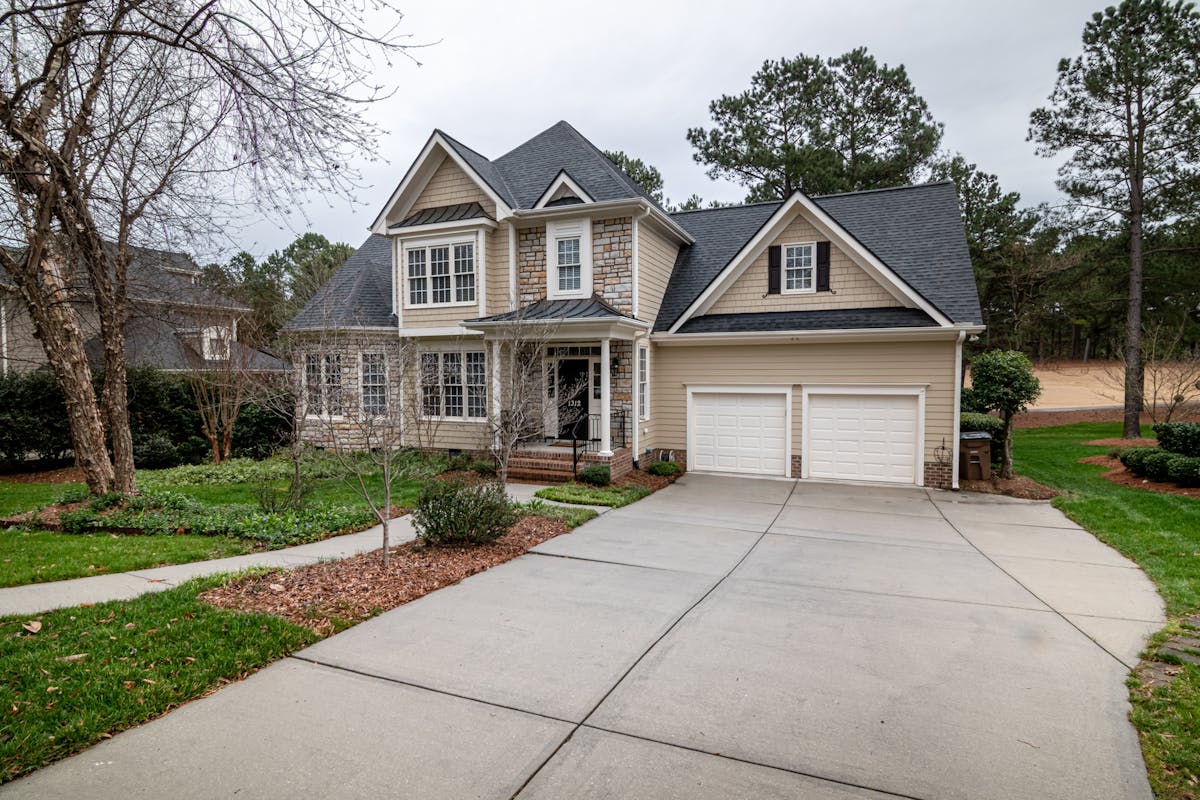
Exterior photography:
Front elevation, rear yard, and any notable exterior features (pool, deck, landscaping). We wait for the right moment if clouds are casting harsh shadows, and may shoot the front from multiple positions to find the most flattering angle.
If your package includes drone:
Aerial photography adds approximately 15-20 minutes. We capture the property from above to show lot size, roof condition, proximity to amenities, and neighbourhood context. All drone work complies with Transport Canada regulations.
If your package includes video:
Video tours are shot separately from stills to ensure smooth movement and proper pacing. We use stabilized camera systems to create a fluid walkthrough experience.
What the Agent Should Do During the Shoot
You do not need to be present for the entire shoot, but it helps to be available for the first 10 minutes (walkthrough) and reachable by phone if questions arise. Many agents use the time to prepare the listing description, confirm showing schedules, or handle other business nearby.
If you or the seller are present during the shoot:
- Stay out of the frame (sounds obvious, but mirrors are tricky)
- Avoid walking through rooms being photographed—footsteps vibrate the camera
- Keep conversations at a normal volume; we can work around it
- Feel free to point out features or ask about specific shots
After the Shoot: Editing and Delivery
Once shooting wraps, the post-production process begins. Here is what goes into delivering your final images:
Professional editing includes:
- Colour correction and white balance adjustment
- Exposure blending (combining multiple exposures for balanced interior/exterior light)
- Vertical line correction (straightening architectural distortion)
- Minor retouching (removing power lines in exterior shots, correcting lens flare)
- Sky replacement only when the sky is completely blown out or white—we use realistic, season-appropriate skies
What we do NOT do:
- Remove permanent fixtures or features (power lines attached to the house, neighbouring structures)
- Alter the property in misleading ways
- Add elements that do not exist (furniture, landscaping, pools)
Delivery Timeline
Standard turnaround is next-business-day delivery for photography. For larger packages including video, floor plans, and drone, allow 24-48 hours. Rush delivery is available when you need to list immediately—just let us know at booking.
Images are delivered via a private online gallery with direct download links. Full-resolution files are suitable for MLS, print marketing, social media, and signage.
Tips for a Smooth Experience
- Book the shoot after preparation is complete—not before. The single biggest factor in photo quality is property readiness.
- Schedule morning shoots for east-facing properties and afternoon for west-facing to maximize natural light on the front elevation.
- Communicate special circumstances—tenant-occupied, pets, construction nearby, access codes. We can work around nearly anything with advance notice.
- Review our preparation checklist with your seller at least 48 hours before the shoot. Last-minute scrambling shows in the photos.
Ready to Book?
Now that you know exactly what to expect, booking your next shoot is simple. Choose your package, select a date, and we handle the rest. Your sellers will appreciate the professionalism, and your listings will reflect the difference.